Maintaining the stability and longevity of your fence requires proper fence post maintenance. From recognizing signs that indicate the need for replacement to selecting the right replacement posts and mastering the step-by-step process, we’ll equip you with valuable insights to tackle this project successfully. Let’s dive in and learn how to enhance the durability of your fence through DIY fence post replacement.
The Importance of Proper Fence Post Maintenance:
Proper fence post maintenance is crucial for the overall stability and longevity of your fence. Fence posts are the foundation of your fence structure, providing support and structural integrity. Regular maintenance, such as inspecting for signs of damage, rot, or deterioration, can help you identify issues before they become major problems. By addressing these issues promptly and making necessary repairs or replacements, you can ensure that your fence remains sturdy and secure for years to come.
Signs That Your Fence Posts Need Replacement:
Several common signs indicate that it’s time to replace your fence posts. One of the most obvious signs is visible rotting or decay. If you notice soft or crumbling wood, it’s a clear indication that the posts have deteriorated and are no longer structurally sound. Cracks or splits in the posts can also compromise their strength and stability. Additionally, leaning or tilting fence posts may indicate underlying structural issues that require replacement. Keep a close eye on these signs to prevent further damage and maintain the integrity of your fence.
Tools and Materials Needed for DIY Fence Post Replacement:
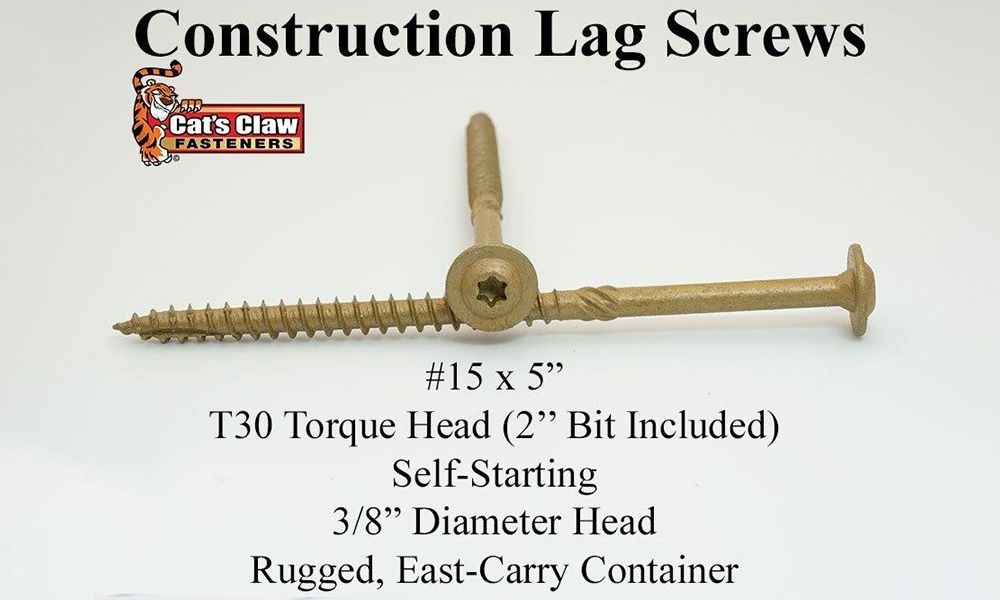
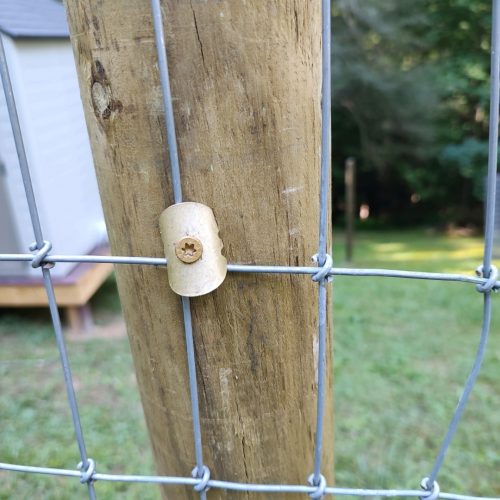
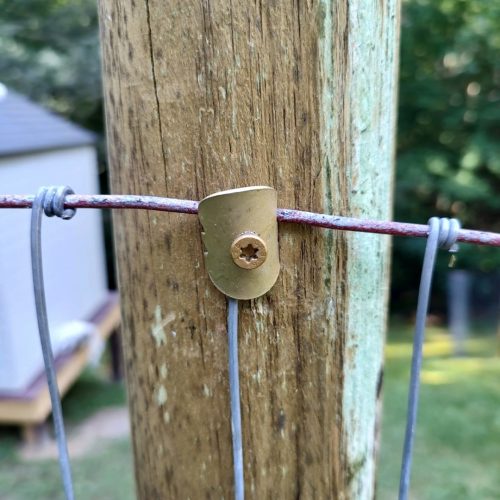
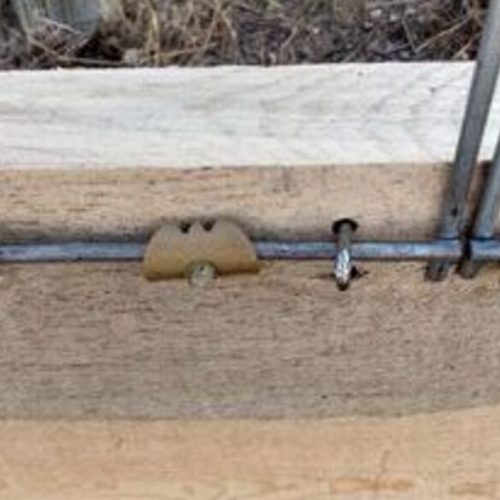
To successfully do a DIY Fence Post Replacement, it’s essential to have the right tools and materials. Some of the essential tools include a post hole digger, a shovel, a level, a sledgehammer or mallet, a pry bar, a saw, and whatever other tools you like to use for demolition. The materials you’ll need include replacement fence posts, concrete or gravel for securing the posts, and fasteners for attaching the fence panels, something like the cats claws are great if you’re replacing a post with wire for examle. Having these tools and materials ready will ensure a smoother and more efficient DIY fence post replacement process.
Step-by-Step Guide to Removing Old Fence Posts: Key things to consider:
Removing old fence posts requires careful execution to avoid causing further damage to your fence. Start by making sure you have removed any brackets or fasteners that connect the post to the fence panels otherwise you may end up damaging more than you need to. Use a pry bar or a jack to lift the post out of the ground while providing support to prevent the fence from collapsing, some brute force may be needed depending on the strength of your post and the way its set in the ground, you may need a breaker or heavier machinery depending on the situation to break up the concrete for example.. If the post is stubborn, you may need to use a saw to cut it into sections for easier removal. Be mindful of any underground utilities or irrigation systems as you work. Generally speaking, have some fun, enjoy the demolition, and get that post out the ground in anyway you see fit, just be mindful that you don’t make the post hole to large or it can make it tricky when installing the new one.
Choosing the Right Replacement Fence Posts:
When selecting replacement fence posts, consider factors such as the type of wood or material, the dimensions required for your fence, and the specific style and needs of your project, also it goes without saying, but make sure that the post you’re taking out, matches the replacement, the last thing you want is an ugly wooden post in a run of concrete ones. Common options for replacement posts include pressure-treated wood, cedar, or metal posts. Each material has its own advantages and considerations, such as durability, resistance to rot, and cost. Research and explore different types of posts available in the market to find the most suitable ones for your specific requirements.
Whether the post you’re replacing is a single replacement or you replace all your posts, make sure you consider other options as sometimes the improvement and replacement is worth more than sticking with the same old post you had originally.
Digging Fence Post Holes: Tips and Tricks:
When it comes to replacing fence posts, you should be able to use the hole left by your old post, if you need to dig a new one and move the post then the Accurate and precise digging of fence post holes is crucial to ensure a sturdy foundation for your new posts. Start by marking the location of the post hole. Use a post hole digger or an auger to dig the holes to the appropriate depth, accounting for local building codes and the height of your fence depending on your area. Remember to make the holes wider at the bottom for added stability, or generally keep the hole a vertical and straight square shape or circle, try avoid funky shapes and holes that get larger towards the top as having a consistent solid shape hole helps make the post base stronger and restrict its movement in the ground. Clear any debris or rocks from the holes, making sure there is no random rocks or bulges that may knock your post out of line when cementing it in the ground. Then, once your hole is ready, get your post in, check the depth is correct and your onto the next part.
Securing Fence Posts: Cement or post mix/crete
The method you choose to secure your replacement fence posts depends on various factors, including soil conditions, climate, and personal preference. The only real methods are using cement or post mix/post crete. Cement provides a strong and durable bond to the post, and as everyone knows, is the foundation to any secure structure, ensuring stability and preventing post movement. Or a slightly pricier option, for example post mix, these cement bags are specifically designed for fence posts and set quicker than standard cement, sometimes being rock solid in under 20 minutes depending on the brand, generally speaking, fencing contractors and professionals will use this as it provides a quicker and stronger hold than cement does.
Proper Alignment and Leveling of Fence Posts:
Ensuring proper alignment and leveling of your fence posts is essential for both visual appeal and structural integrity. Use a level to check that each post is perfectly vertical and adjust as necessary. Properly aligned and leveled posts will ensure that your fence panels sit correctly and provide a cohesive and professional appearance. Also ensure that your new fence post matches the position of the old one if its a direct replacement.
Installing and Attaching New Fence Posts:
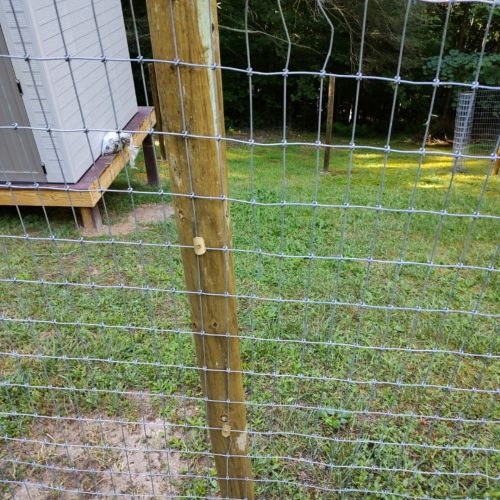
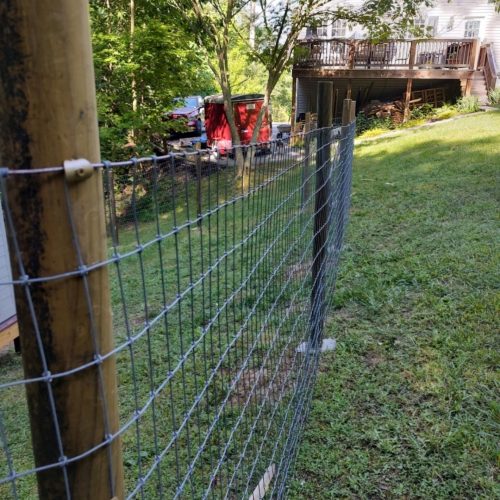
Once the replacement posts are properly aligned, it’s time to secure them and attach the fence panels. Follow the same pattern or method for installing the posts, that would have been done the first time round to make sure your fence all lines up and matches, for example if the previous post had a gravel board attached, make sure to put that back on first, then sit your panel on top, if the previous post is part of a post and wire fence, make sure to secure the fence at the same height as the originally. Use appropriate fasteners to attach the fence panels securely to the posts for example use the cats claw if you are using post and wire, as they offer quick and easy replacement, and generally are a great thing to have in a fence post toolkit. Pay attention to proper spacing and alignment to achieve a visually pleasing and structurally sound fence, whist matching the rest of your fence.
Finishing Touches: Staining or Painting Your Replacement Fence Posts:
After completing the installation of your new fence posts, consider staining or painting them to enhance their appearance and protect them from the elements. Staining or painting can add a touch of personal style and provide an additional layer of protection against moisture, UV rays, and other environmental factors. Choose a stain or paint color that complements your overall outdoor aesthetic and follow the manufacturer’s instructions for proper application. Check out our blog on fence staining here for a more in depth guide
DIY fence post replacement is a rewarding project that allows you to maintain the strength and durability of your fence. By recognizing signs that indicate the need for replacement, selecting the right posts, and following a step-by-step guide, you can successfully replace your fence posts and enhance the longevity of your fence. Remember to prioritize proper maintenance and periodic inspections to identify any issues early on. With the right tools, materials, and techniques, you’ll have a strong and beautiful fence that will stand the test of time.
Looking to satisfy your curiosity? Contact Cat’s Claw Fastenerss and connect with our Head Cat Collector, Chava, at chava@catsclawfasteners.com. Stay updated with our blog and follow us on Facebook, Instagram, Pinterest, and Youtube for more insights!
About the writer: Jake
Jake Walker is Cat’s Claw Fasteners go-to guy for anything related to fencing, gates, installation, and materials! Thanks to his background as a professional fencing installer as well as content writer, combined with a bit of his British twang and ideas from across the pond, he keeps the audience captive. Don’t worry if you don’t understand his British slang or sense of humour; we don’t always understand him, and he doesn’t always fully understand us.
Get in touch of Jake via email at ralph@catsclawfasteners.com , be sure to use ATTN:Jake if you have any questions about all thing social, writing, fencing, or just want to make fun of his British accent.
Read Next: Fence Etiquette 101: The Unwritten Rules of Fence Building

.png)


