You can put in a hard day’s work and come up with building a wooden fence that will protect you and your property. Attempting home improvements that you’ve never done before can seem like a challenge, but you don’t need to be a professional carpenter to screw a nail into a board. The benefits of a beautiful wooden fence can last a lifetime. Fences boost your property value and provide a sense of security. Follow these tips for building a wooden fence to ensure you create a sturdy, long-lasting structure.
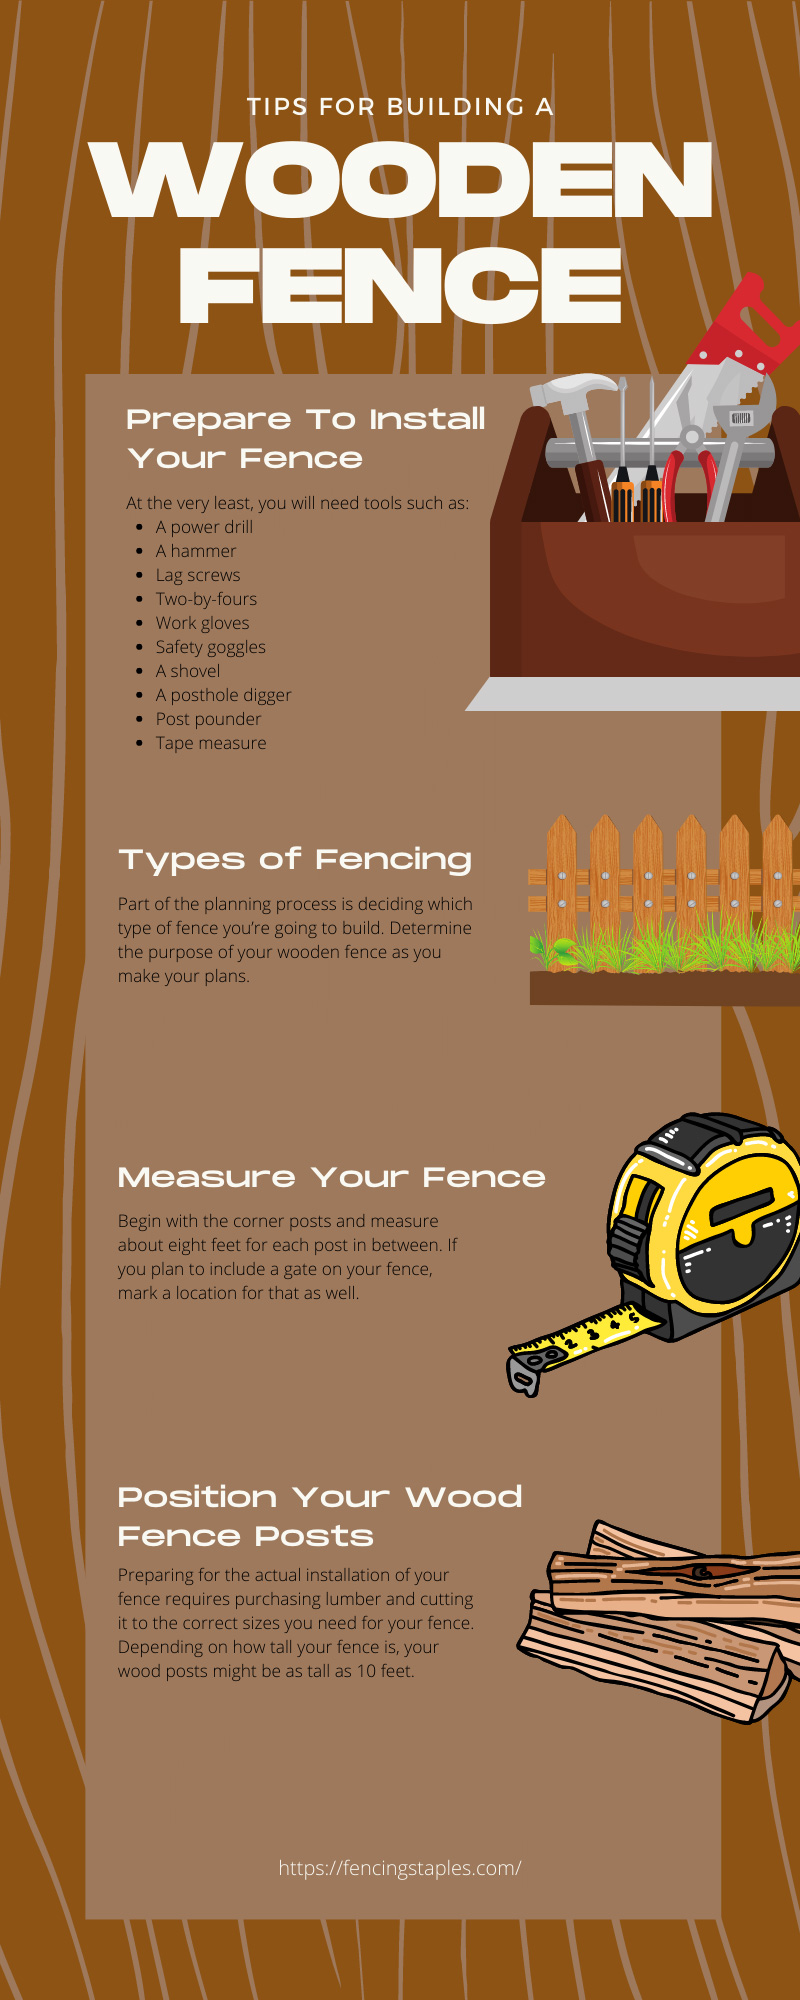
You don’t need to hire professionals to assemble a fence. With the right tools and proper planning, you can build any type of fence yourself. To guarantee success, gather all the materials you’ll need ahead of time and inquire with peers to see if anyone can help you. At the very least, you will need tools such as:
Part of the planning process for building a wooden fence is deciding which type of fence you’re going to build. Determine the purpose of your wooden fence as you make your plans. Is your main aim privacy? Are you attempting to protect pets or kids? You should also consider if your fence will need a gate and plan where you want to put it.
The most important part of planning your fence is measuring and marking where you will place your posts. You should decide where in your yard you want your fence and use spray paint or another system to mark where each post will go. Begin with the corner posts and measure about eight feet for each post in between. If you plan to include a gate on your fence, mark a location for that as well.
An often overlooked aspect of building a wooden fence is legality. You may need to check your local guidelines to ensure that your fence is legal and you have the legal right to install it without the help of a professional. Guidelines can limit the height, material, and style of your fence, so you should check with your local government or HOA before starting.
Preparing for the actual installation of your fence requires purchasing lumber and cutting it to the correct sizes you need for your fence. Depending on how tall your fence is, your wood posts might be as tall as 10 feet. Additionally, depending on how big your fence is, you may need as many as 12 to 20 posts.
To install your wooden fence posts, use a shovel or posthole digger to dig holes at least two feet deep. The holes should be deep enough to secure the posts in the ground. Dig deeper if you’re using taller posts.
Once you’ve dug your postholes, place the wood posts in the holes and fill the space around them with concrete. Concrete will help hold the poles permanently in place. Once it sets, fill in each hole with a mixture of stone and dirt. The stone will help with drainage so that the wood posts will be less susceptible to dry rot.
Fence rails secure your fence posts and help keep them from wobbling. Most fences use at least three rails for stability, but you can use additional rails for a sturdier fence. You may want to reinforce your fence with additional rails, especially if you own a large, rambunctious pet.
To install rails, begin by marking the location for where you will place them. The rails must fit into cut-outs that you make in the posts. The bottom rail is typically about 10 inches from the ground, and the top rail is about five and a half feet from the ground on a six-foot fence. Measure to find the halfway point for the middle rail.
To complete the framework of your wooden privacy fence, assemble two-by-fours to fit between the rails. Ensure that the finished side is facing the front of your property. Some boards are finished on both sides, while others require more careful assembly.
When you plan your fence, you should measure the amount of space you’ll need for your fence. Consider what you will need to bring through your gate. If it’s just you and your dog, you can use a regular gate, but if you plan to bring wheelbarrows and tractors through, get a wider gate. The actual door of your gate should be about an inch thinner on each side to accommodate the hinges and to allow it to easily open and close without catching.
Once your fence is installed, you can add the finishing touches. If you dream of a whitewashed fence with pickets, the dream can be yours. To install pickets on your fence, begin with a corner, and decide how tall you want them. Use a nail and string to line up your pickets, so they’re all the same height. Use pickets on both the exterior and interior of your wood fence.
Keep these tips for building a wooden fence handy for when you need to build, mend, or help a neighbor with their fence. It’s important to construct a sturdy fence that will withstand the elements. Use screws for wooden fence panels to ensure your project doesn’t fall to pieces. Find ceramic-coated lag screws from Cat’s Claw Fasteners on our online store today.
Inquiring minds are welcome at Cat’s Claw Fastener! Get in touch with us for any questions and contact our Head Cat Collector, Ralph, via email at ra***@***************rs.com. Stay updated with our blog posts and follow us on Facebook, Instagram, Pinterest, and Youtube for more!
Read Next: Setting up a Fence Post for Your Fencing Staples

Arian Harwell says:
This is an excellent blog. As well as an informative and helpful blog about Wood Fences
Johnson City Fence Builders says:
Building a wooden fence? Start with proper planning and measurements! Quality materials and attention to detail will ensure your fence stands strong and looks great for years to come.