No products in the cart.
Just thinking about putting up a fence to protect your garden or fence your dog can be enough stress to prevent you from doing it. Taking the steps to create a better life requires hard work, but it’s worth it in the end. No one ever built anything from scratch on their own. Even recipes are handed down and edited over time by those who have used them. Whether you’ve attempted to construct a fence before or not, use these tips for how to build a welded wire fence to ensure you don’t have to do it twice.
The fear of a predator breaking through your fence and harming something that you love could be enough to stop you from pursuing your passion. Welded wire fences are typically used to protect livestock or vegetables from rabbits, foxes, and wolves. You want to ensure that the fence is secure so that nothing damages it or gets past it. Find out which materials and methods will set you up for success.
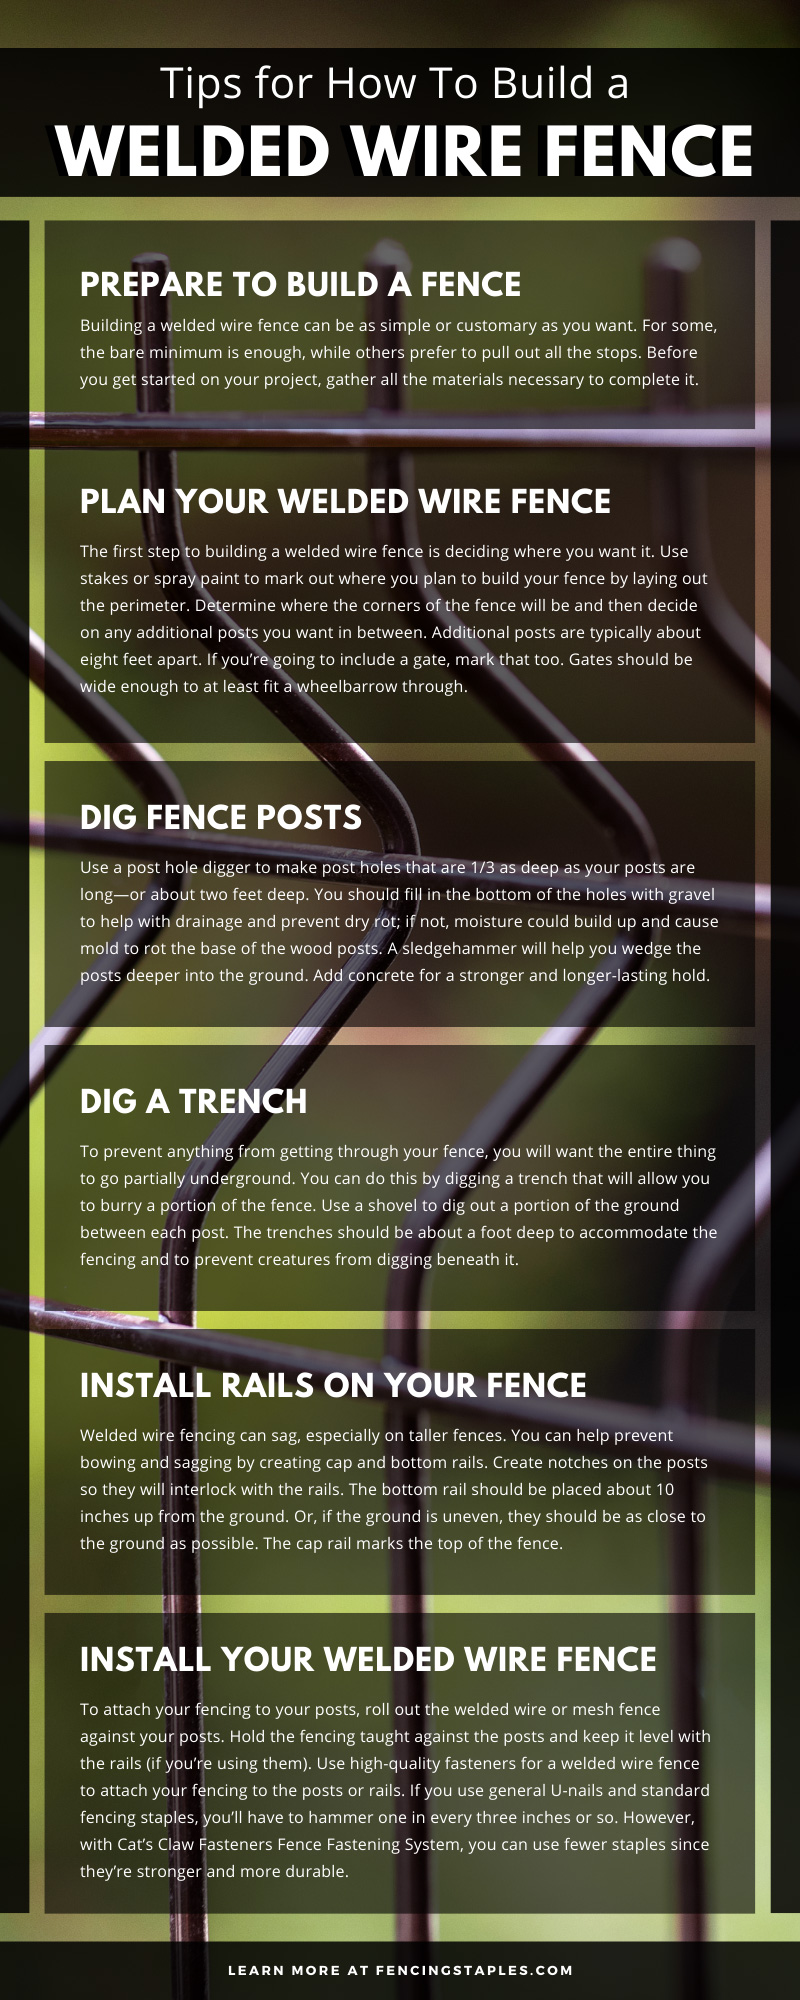
Building a welded wire fence can be as simple or customary as you want. For some, the bare minimum is enough, while others prefer to pull out all the stops. Before you get started on your project, gather all the materials necessary to complete it.
The first step to building a welded wire fence is deciding where you want it. Use stakes or spray paint to mark out where you plan to build your fence by laying out the perimeter. Determine where the corners of the fence will be and then decide on any additional posts you want in between. Additional posts are typically about eight feet apart. If you’re going to include a gate, mark that too. Gates should be wide enough to at least fit a wheelbarrow through.
Use a post hole digger to make post holes that are 1/3 as deep as your posts are long—or about two feet deep. You should fill in the bottom of the holes with gravel to help with drainage and prevent dry rot; if not, moisture could build up and cause mold to rot the base of the wood posts. A sledgehammer will help you wedge the posts deeper into the ground. Add concrete for a stronger and longer-lasting hold.
To prevent anything from getting through your fence, you will want the entire thing to go partially underground. You can do this by digging a trench that will allow you to burry a portion of the fence. Use a shovel to dig out a portion of the ground between each post. The trenches should be about a foot deep to accommodate the fencing and to prevent creatures from digging beneath it.
Welded wire fencing can sag, especially on taller fences. You can help prevent bowing and sagging by creating cap and bottom rails. Create notches on the posts so they will interlock with the rails. The bottom rail should be placed about 10 inches up from the ground. Or, if the ground is uneven, they should be as close to the ground as possible. The cap rail marks the top of the fence.
To attach the rails, fit them into their notches and mark where you want to install screws. Drill pilot holes before completing the attachment with lag screws. A second set of hands is useful for this step.
To attach your fencing to your posts, roll out the welded wire or mesh fence against your posts. Hold the fencing taught against the posts and keep it level with the rails (if you’re using them). Use high-quality fasteners for a welded wire fence to attach your fencing to the posts or rails. If you use general U-nails and standard fencing staples, you’ll have to hammer one in every three inches or so. However, with Cat’s Claw Fasteners Fence Fastening System, you can use fewer staples since they’re stronger and more durable.
If you dug a trench, roll the fencing down into it. Burry the fencing in the trench using a mixture of soil and gravel. The mixture helps with drainage and is especially necessary if you will be penning animals in your fence.
If your fence is for keeping animals inside, you should install a gate. Plan how big your gate will be when you mark out your design. Most gates are about thirty-six inches, which is large enough to accommodate a wheelbarrow. If you plan on bringing larger livestock or a lawn mower through, you’ll want to consider something wider.
You can purchase a gate or build your own. When you measure the door for the gate, you’ll want it to be an inch smaller than the opening so it has room to swing. Use latches and hinges to attach the door to the fence.
Gates are optional. If you’re building a garden, you might not need a gate if the garden isn’t terribly large. You also might not need a gate if your garden is not entirely fenced in, and you allow yourself space to walk between the rows. Instead, you can fence individual flowerbeds. Gates are necessary if you have animals, or if you have tall fencing that isn’t attached to a barn or house.
A full day’s work goes into building a proper fence, but the effort is worth it. Your fence will hold strong if you plan well, bury the poles and fencing, use high-quality fasteners for a welded wire fence, and install rails. You should also make sure that your wire fencing is taut and that it covers the posts. Familiarize yourself with these tips for how to build a welded wire fence and you will set yourself up for success.

Got questions? Cat’s Claw Fasteners is here to assist you! Email our Head Cat Collector, Ralph, at ra***@***************rs.com. Don’t forget to check out our blog and follow us on Facebook, Instagram, Pinterest, and Youtube!
Read Next: What Are the Most Durable Types of Fences
